There are 2 options for adding images to your volusion products:
 1. With Volusion Admin Area
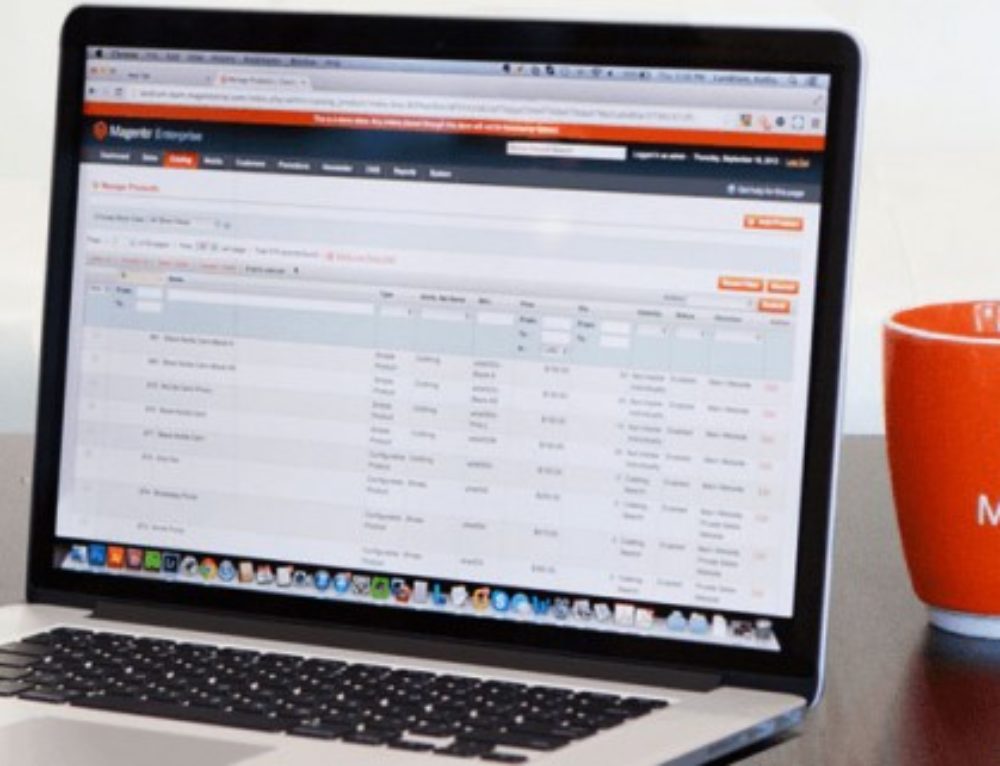
Log into your admin area
INVENTORY > PRODUCTS
You will be presented with a list of all your products, or you can click search and find a product (any products ending with -P are your parent products).
Select a product – you can make all the changes you want here
Look at “IMAGE MANAGEMENT”
Add Image
Browse for your product image.
The image could be on your PC or from another website.
You dont have to resize the image – but its best to find an image that is reasonably large. If you find an image on someone else website, just right click over their image and view properties. You can then copy the url of their image. Then paste this url into the file name area in volusion.
Volusion will then grab this image and make 4 different sizes and rename, and resave into your own server.
This is a handy feature and makes adding images quite easy (since volusion creates the 4 variations of images that you need automatically). But you have to do one product at a time.
2. Using FTP to upload lots of product images at a time.
Volusion uses a special naming convention for your product images. Its always the same. it takes the product code of an image and then adds -1,-2,-3 etc to the name depending which size its going to be.
For example a product with product code AC005:
Tiny Image: AC005-0.jpg (height 80px)
Small Image: AC005-1.jpg (height 199px)
Medium Image: AC005-2T.jpg (height 423px)
Large Image: AC005-2.jpg (height 600px)
So if you use something like photoshop you can batch process your images so that you end up with 4 sizes, and you can rename them as above.
These images can then be upload directly to volusion server
FTP to:
vspfiles/photos
Volusion will then match up any products with their corresponding image.
This method is great if your product images that come from your supplier are already named as their product code. You just have to remember to create additional product images for any that have parents.
I used photoshop for creating the various image sizes (a batch process will automate the process so that you can reapply the same resize process to all the images in a particular folder).
Then I used a Batch Renamer – which basically renames every file in a folder however you want. So i can add ‘-2’ to all the product names etc.
Hope that makes sense. Batch processing of images can be fast – as long as the original product name is the same as the product code, its straight forward.
When I first started adding product images – I just used method 1. I also use method 1 if I am just adding a few product images etc. (less than 40).
Either way has pros and cons – just play around and see which you prefer.
Learn more about our Volusion Web Design Services


Leave A Comment
You must be logged in to post a comment.